
I've been having a great time lately producing cards using ALL DIFFERENT FANCY FOLDS and came upon a fabulous discovery that I think you'll enjoy!
I started out by working on a Double Z-Fold
card using the following instructions:
- One 5 1/4 x 12" piece of cardstock for card base (you get TWO out of a 12x12)
- Two 1 3/4" x 5" piece of cardstock (or patterned paper) for side panels
- One 3 3/4" x 5" piece of cardstock (or patterned paper) for inside of card
STEP 1:
Score the 5 1/4" x 12" piece at 2", 4", 8" and 10"

STEP 2:
Fold second score line in.

STEP 3:
Fold the first score line back.
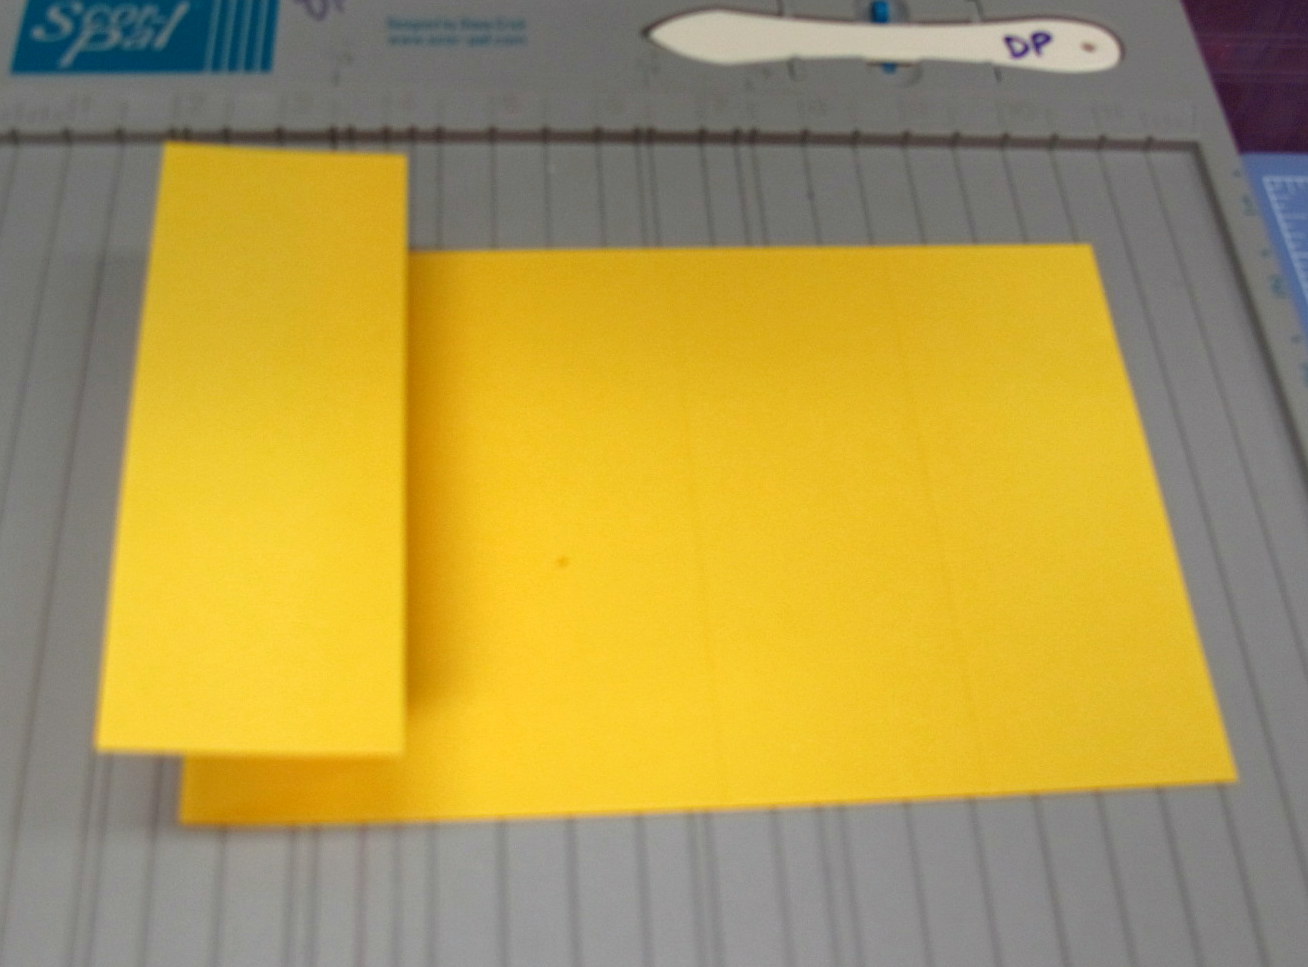
(sorry for the blurry photo)
STEP 4:
Repeat Steps 2 & 3 on other side of cardstock.
Your card base is done.

Now you can decorate the outside & inside panels to your liking using designer paper, images & embellishments. Here is how I finished my card which AT THIS POINT is a DOUBLE Z-FOLD creation.


I have used one of the images from Shelly's 'CARNATIONS' set for this creation.
NOW HERE COMES THE TWIST!
I discovered that with just a few more FOLDS, you will have created Shelly's 'Diamond Fold Card' but in the smaller A2 size! How cool is that!
All you have to do is mark the CENTER of your inside panel (top and bottom) ... then with the card opening DOWN ... fold the four corners into those center lines. It will look like this:

(again sorry for the blurry photo)
I seem to be having technical difficulties so from this point I will use Shelly's photos from her tutorial on the larger sized Diamond Fold card.
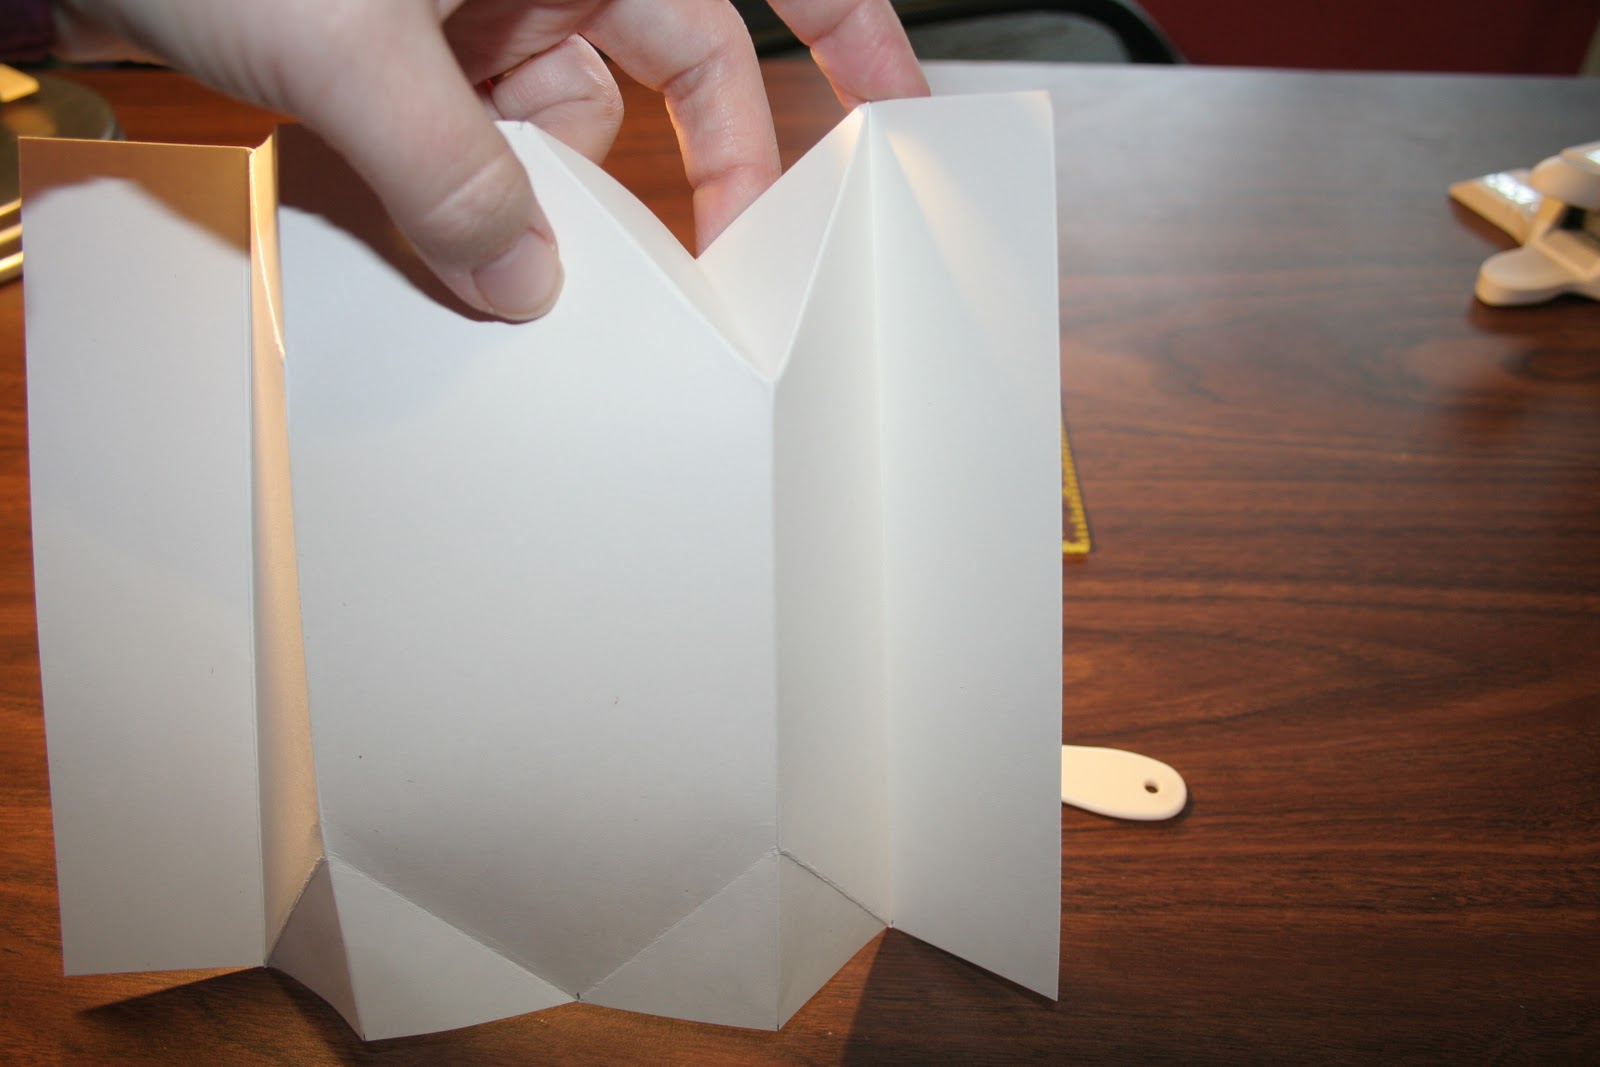
Unfold
all of the folds and open your card base out flat. You will see little
triangles. Fold these triangles down as shown here. Once all corners
are folded lay your card down flat and again use the bone folder. This
will help your card stand up nice.

All of the folds are now done and you are ready to start decorating your card.
If it helps ... you can refer to Shelly's post HERE for better clarity.
The only difference between her's and mine is the FINISHED CARD SIZE.
The process is the same!


Here is my finished 'Diamond Fold' card using Shelly's 'APRIL SHOWERS' image.
I hope you will give these two Fun, Fancy Folds a try and please, share a link if you do, we'd love to come and see what you've created! Remember, we have SEVERAL tutorials to help inspire you. Just click on the TUTORIAL LIBRARY logo in our sidebar to find one that catches your eye!
Hope to see you back here on Thursday for another Terrifically Thrilling Thursday Challenge!
I just love this Darlene. So great to get two cards from on basic fold. Thanks for sharing. :)
ReplyDeleteI am totally impressed because I am "fancy fold" impaired! Which is probably because my craft time lately is always last minute!
ReplyDeleteAwesome tutorial!!!! And wonderful cards.