Hi there! It's Jen here, from the Shelly's Images Design Team.
Today, on behalf of Shelly and my fellow Design Team members, I would like to show you a way of chalking, around your image, or on dry embossed cardstock in a really economical way.
Chalks are pretty expensive, and a good range of colours will cost a pretty packet. So I popped off to the bargain store and purchased a set of eye shadows, the powder type, in a selection of really bright, soft pastels, and some lovely metallic colours. It cost under ten dollar for a set of 48 fabulous colours!
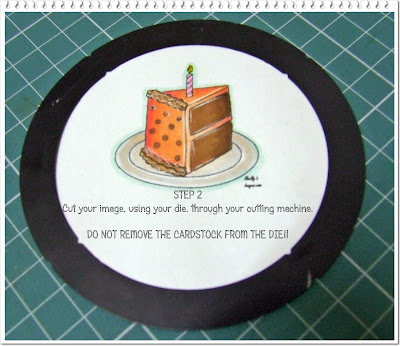
This is the picture how-to:
Select your image, and for the purpose of this tutorial, I have used the very pretty image called "1st Birthday" available in the Shelly's Images Store HERE.
Really simple, isn't it! Now there is no need to throw out those eye shadows are are past their 'use-by' date. Transfer them from your vanity area to your craft area, and give them a new lease of life!
Have fun trying out this technique!
luv'n'huggz
Shelly and the Shelly's Image Design Team
PS - There is still time to enter the challenge and stand the chance to win!
Please pop back on Thursday, ... it promises to be "Terrifically Thrilling" ...!


Thank you for the lovely tut.
ReplyDeleteJust fabulous Jen! I love the look of the nice crisp white edge that is left by leaving the die on the image. SO great!
ReplyDeleteAwesome tutorial Jen! Why didn't I ever think of using CHALK??? May have to get those out! =)
ReplyDeleteI am loving the idea of using old eye shaddows. I have some 10 years old ones and never had a heart to throw it away now it comes very handy. Such a great tip! Thanks
ReplyDeleteMichaela xx
Hi Jen, this is a lovely tutorial and what great tips:) Sandra H
ReplyDeleteI always wondered how people achieved that look with chalking or inking. Thanks for sharing. Will definitely be giving this one a try.
ReplyDelete