


Empty TP roll, strong adhesive (I'm using Score Tape),
your choice of decorative paper (mine is cut 4" x 8" ...
you can cut it a little wider to enable you to tuck
a piece down inside the roll) and a brad.
Let's get started:
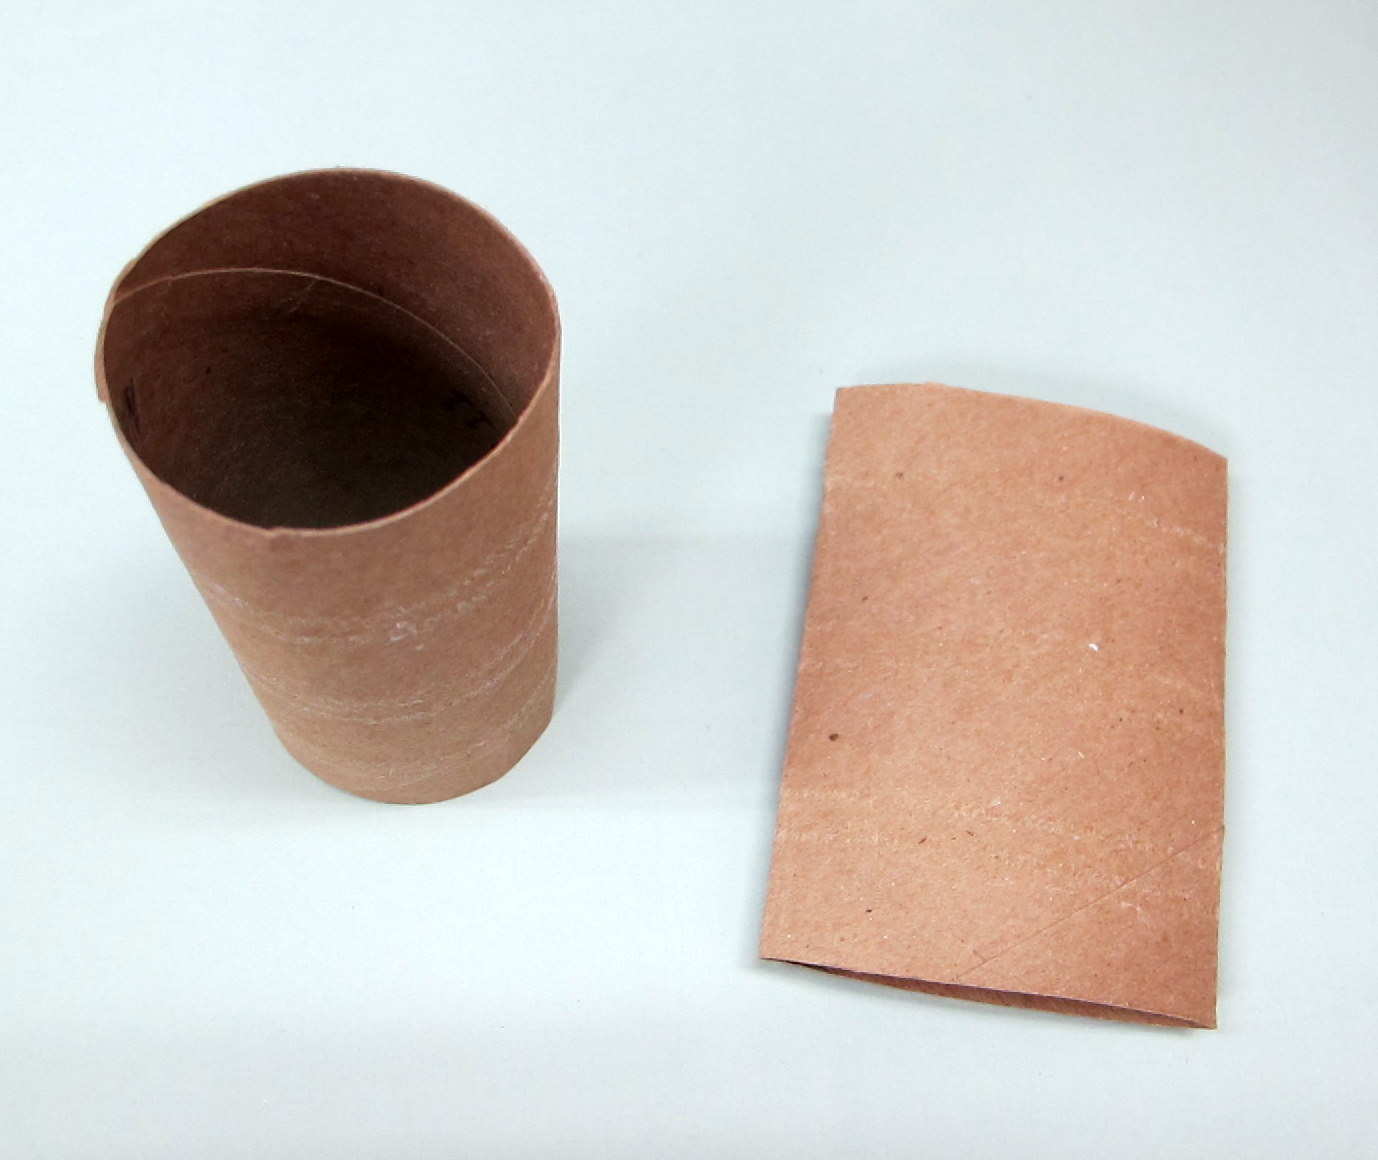
First you'll want to flatten your rolls as flat as you can ... placing them under a stack of books works fairly well (and I just figured out that running them through the Cuttlebug works VERY well).

For this sample, I have only adhered the sides, but you may want to place a piece of your tape across the top front of your panel also. Or even cut your dp a little wider and tuck 1/2" or so down inside the roll ... for a really nice, neat appearance.

Here is the flattened TP roll covered with holiday
designer paper ... isn't it cute? And, a BRAD added to the center bottom, to keep your card from falling through.

Of course, your choice of decorating is endless!
I simply chose to add a tag, a little red Stickles and a sparkly puffy ball. Let your imagination run wild and have fun with it!!
So there you have it ... a quick, fun gift card holder! I hope you've enjoyed this little tutorial and when you get around to making your own ... PLEASE pop over and share them with us! Just add a link to the comments section below. We'd LOVE to see your creations!
Happy Crafting!
Darlene
Интересна,много идейна творба!Благодаря!
ReplyDeleteАз възнамерявам да правя тубус-кутийка,или рингове за салфетки.Сега ще бъде всичко в комплект,скоро,скоро...Хубав ден!!!!
Fabulous idea!!
ReplyDeleteSo cute Darlene! I love it! I peaked at the upcoming blog posts so I knew this tutorial was coming. I already have two toilet paper rolls sitting on my desk waiting to a makeover.
ReplyDeleteThis is a great idea:) Sandra H
ReplyDeleteLove it! Fab tutorial, Darlene!
ReplyDeleteGreat bit of recycling! Thanks for sharing! Kim
ReplyDelete